
I will go step by step here to show you exactly how to install it:
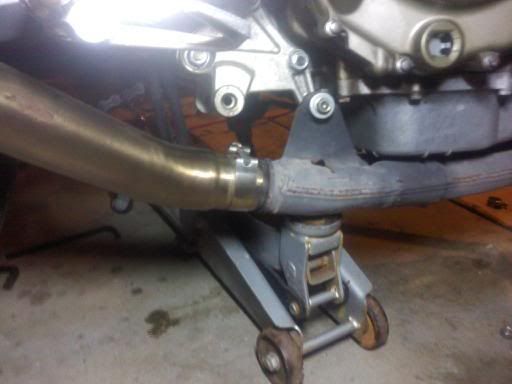
 First I threw a jack under the header pipe to pull the weight off of the rear tire. Next I loosened up the bolts on the stock suspension link(Ratchet+17mm socket and a 14mm box-end wrench)
 Then it was on to loosening the bolts holding the stock arm.
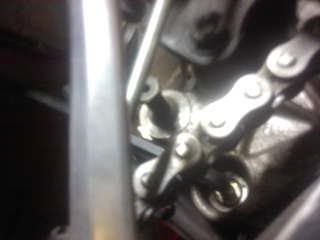
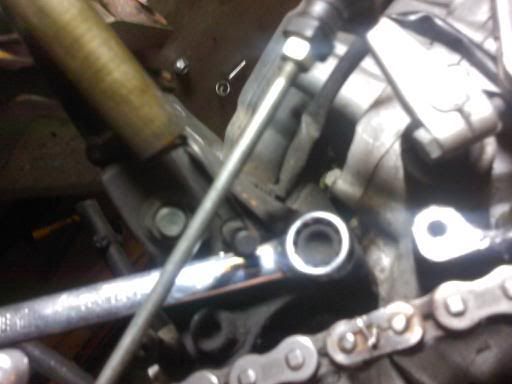
If you look here I inserted a 8mm allen wrench in and let it jam up against the bike then on the opposite side loosened it with the 17mm socket(This is great doing this swap solo)
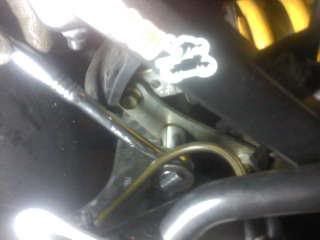
With all these bolts loose you will notice that you can't really pull them out in place. So with a wiggle of the swingarm up and down you are able to get the bolts out and it will start taking more pressure off the others. And shizam the stock links are off.
Now was kind of the tricky part. In most cases, the stock arm will pull right out. And of course, that was NOT the case for me. So I had to loosen the two brackets that the arm mounts to. Here is another trick of how I loosened these myself by wedging the 14mm socket against different parts of the bike.


 Waahhlahh. Its out. And its off to the presses! Well, actually I decided to do it in a standard vise that most of you have in your shop. This will make this alot more useful(for all you ballers, you know how to handle this in your 50ton press. DOWORK).
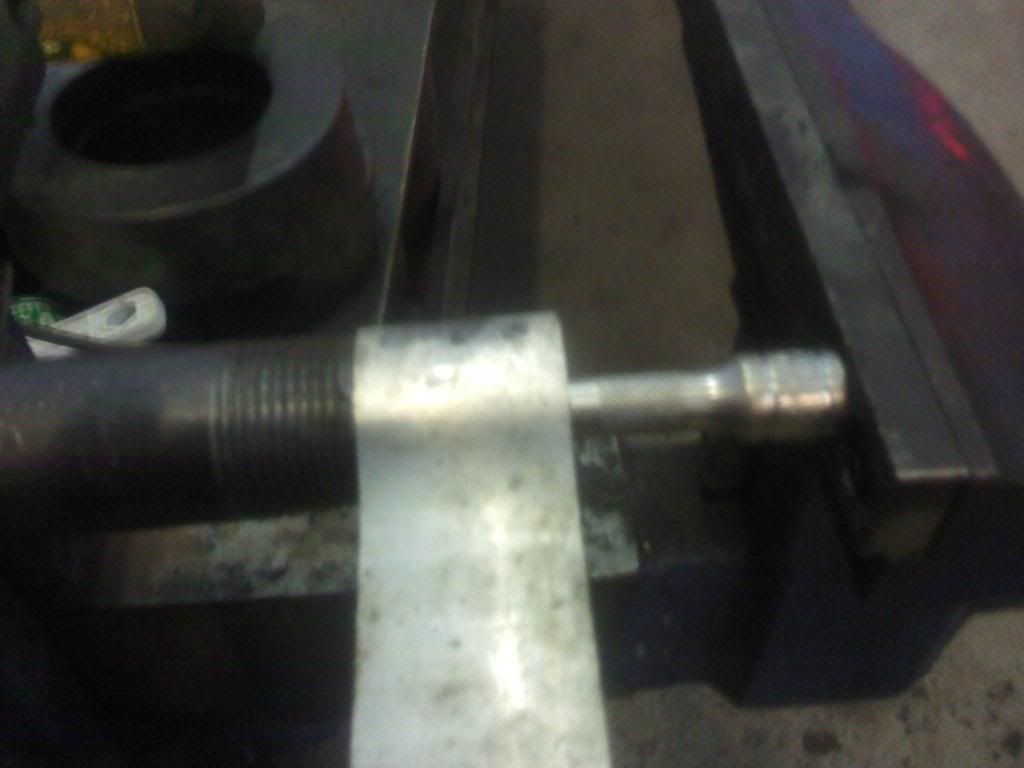
So the setup I used is pretty basic. I found roughly a 3/4-1" piece of pipe and used it on one side of the arm(this will allow the bearing to be pushed out of this side). On the opposite side I used that same 17mm socket we had before, only now I took a 3" extention and put it in the wrong side of the socket(where you would usually have a bolt). This will allow us to push the bearing all the way through th e arm with as much surface area as possible. We do not want to damage the bearings.
FIRST - Be sure to pop out the bushings inside. Also, take a very small flat head screw driver and pop off the seals. Set these aside for later.
Chuck these up in the vise and start applying pressure. And Repeat until both bearings are out.
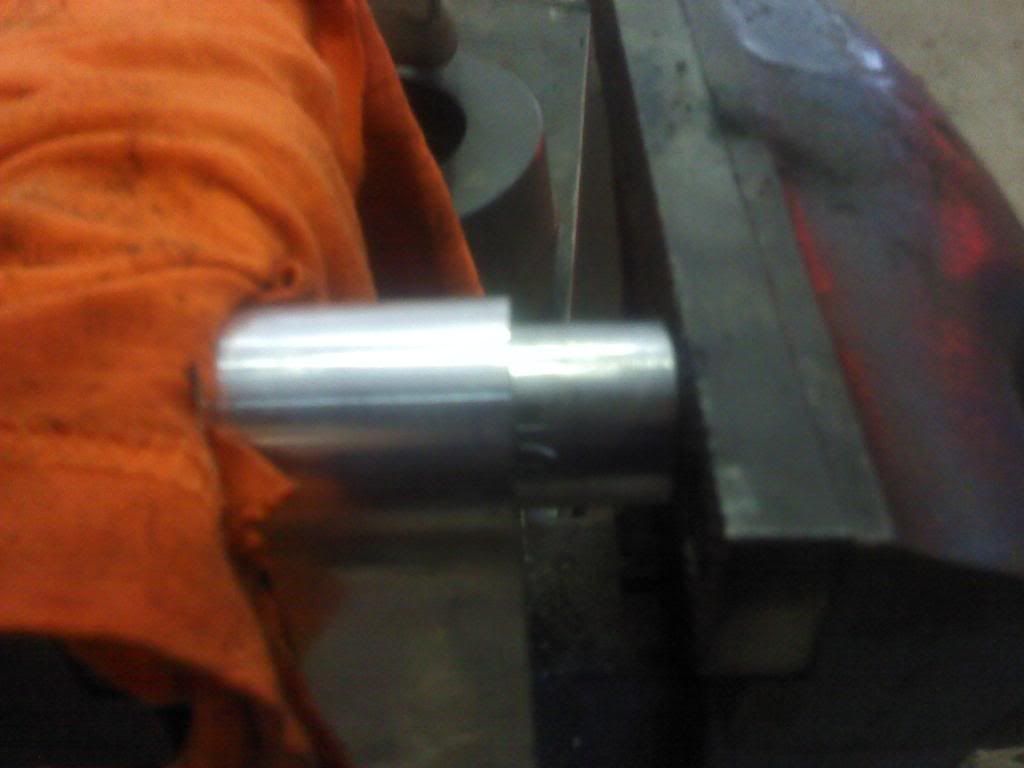
Now its time to press them into the new arm. I popped in one oil seal flush with the side, then laid a rag over the vise jaw that would contact my fresh shiny Naarden link. Pressed them in with the same setup until it became flush with my oil seal. Then pop in the other and repeat! Boom. Now just reverse the removal instruction and you end up with this!
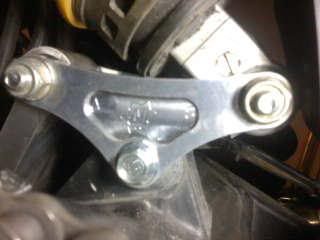
(I noticed that the letters A L S are engraved. I assumed this was for Arm, Link, Shock - or something like that so I assembled it as such). Tighten all bolts and go ride!
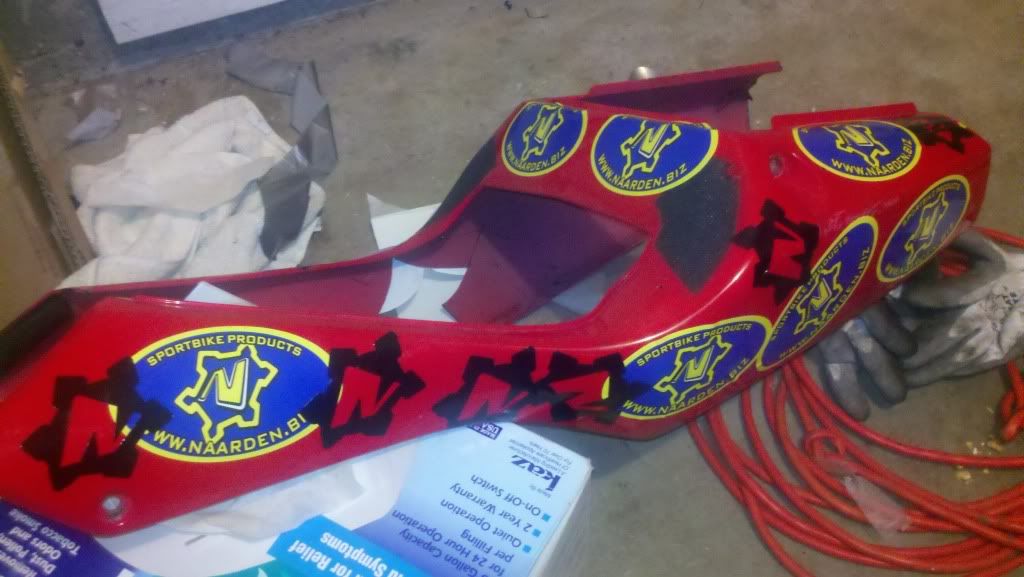 |
| Part of loosing the bet to get this link! A few more riddled on the bike as well. |
Ok, so I went out and rode with this thing on and here is what I think so far.
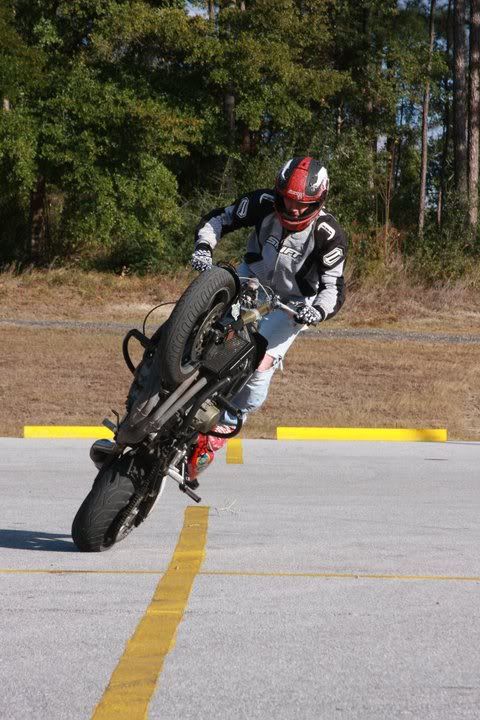
Well temp was about 30deg F outside. Tire was fairly cold, and did not get so much as a spin or slip doing a sitdown. Effortlessly comes up. Feels alot more crisp on throttle/brake inputs. Also, dipping in on circles and making body adjustments were more smooth because I didn't have the delay of the rear squatting and then rebounding. After a couple hours riding I decided to huck up a few stoppies, and they came up very smoothly. This bike has a 600rr front end on it, but I have rode a stock linked 600rr front f4i and it would still occasionally push the front end. The couple times the tire washed out the rear tire was already off the ground. Drifting - As far as drifting goes this link REALLY changed it for me. Not for the best because I didn't spend much time on it but I can tell the bike reacts waaaay different on gassing out(could also be the tire I just put on). Played it safe. And I will check back with another update after more seat time! LATER HATER!
If you want to get this must have part follow the links on over to Naarden.biz!

No comments:
Post a Comment